
‘The true secret of happiness lies in taking a genuine interest in all the details of daily life,’ goes the famous William Morris adage.
Dare we suggest this applies exceptionally well when taking the time to correctly fit a drape rod? Our guide will take you through all the particularities of how to fit a drape rod or drape track, so you get it right the first time.
What you will need
- Your drape rod or track
- Steel tape measure (it’s much more accurate than a fabric one)
- Drill with drill bit
- Screwdriver
- Step ladder
- Spirit level
- Cable detector
- Hacksaw
- Pencil
Understanding the Basics
Before you pick up any tools, please: gently drop them. Because first, we need to understand the key principles.
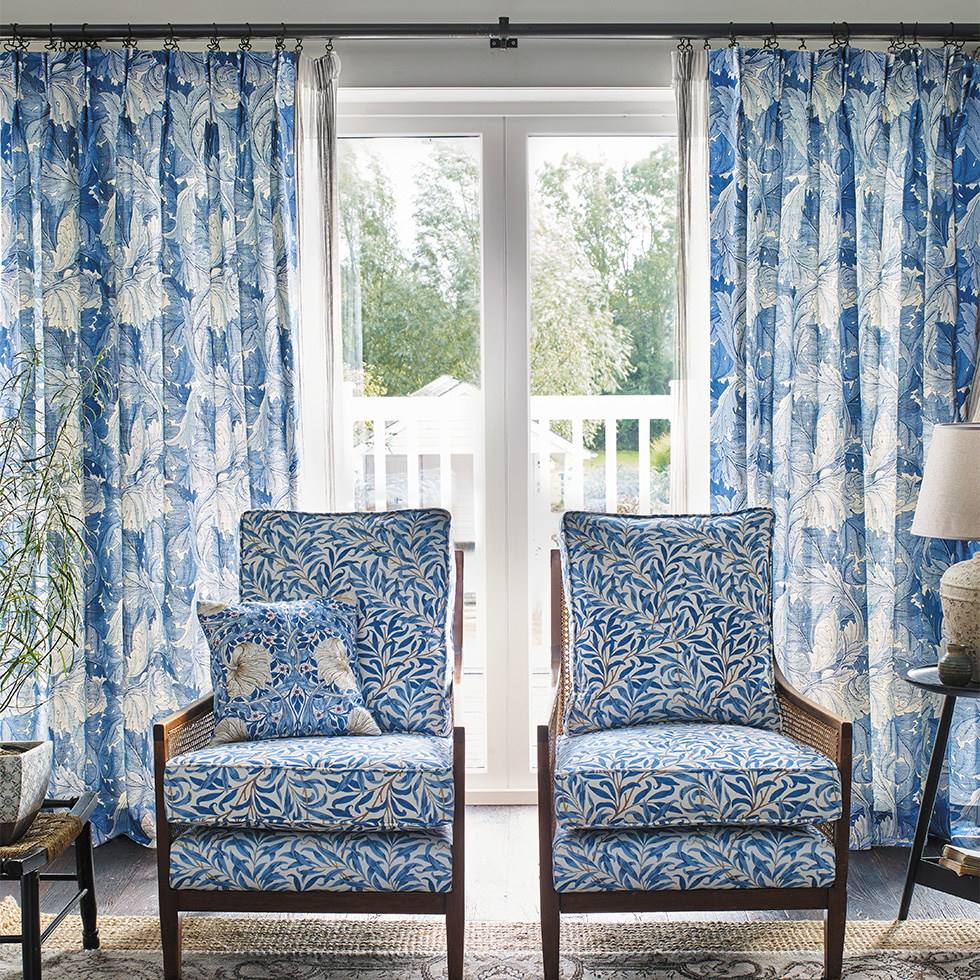
So, let’s be clear: drapes hang on a drape rod, the rod sits above the window recess (the bit above, before the window goes ‘in’) – which is supported by brackets. At least two (sometimes three, if 60+ inches) brackets will be drilled into the wall that will bear the weight of the drapes and rod. Flanking the drape rod are its finials. These are purely decorative and have no structural purpose. This differs from a drape track; we’ll get onto the differences in a moment. That’s the rod; now onto the drapes. drapes on a drape rod can be held by eyelets (that’s loops within the drape fabric) or hung by external loops. The length of the drape is known as ‘the drop’, typically that’s the height of the window, or from the rod to the floor: you decide.
That’s the drapes’ height; now width. When the drapes are drawn, that’s called ‘the gather’. The gather is important. Because if you have especially heavy drapes, you need to consider creating extra space at the side of the window for that (thicker) material to gather. Getting a longer drape rod could also be a wise decision.
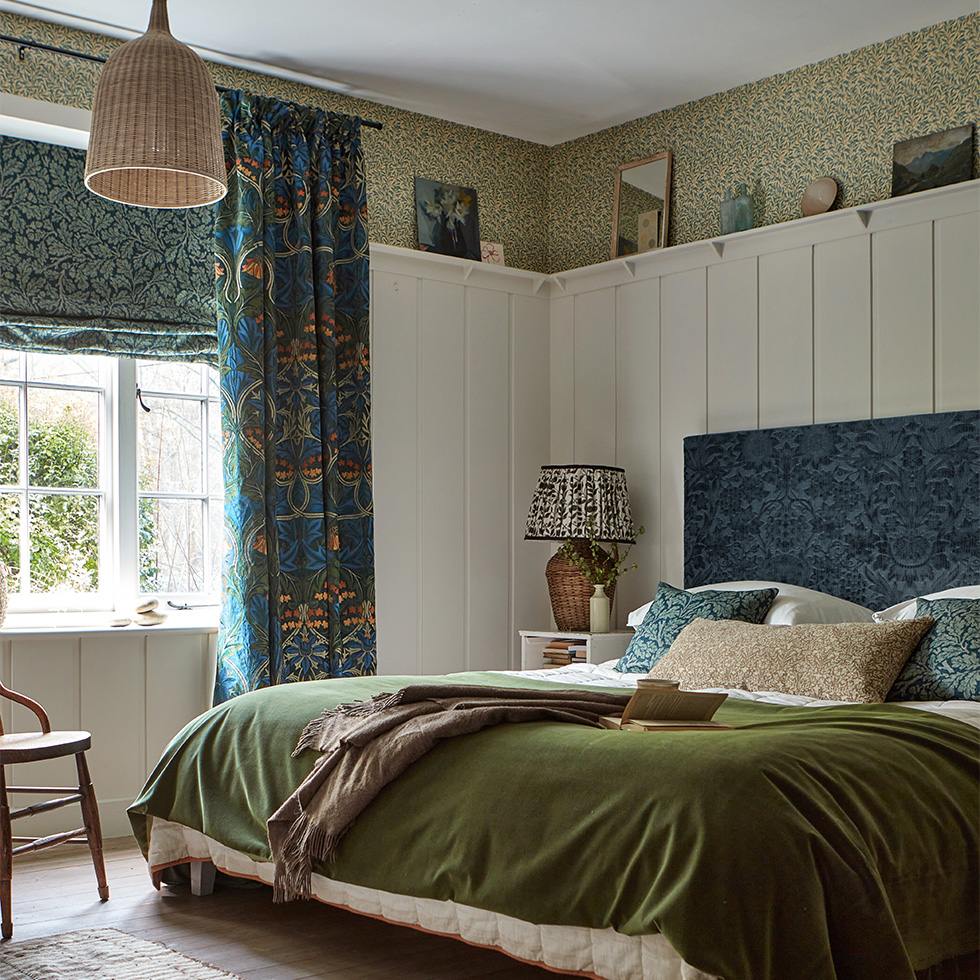
The Differences Between a Drape Rod and Track
Both hang drapes, but in different ways. A drape rod hangs above a drape, visibly on the outside recess of a window. A drape track however can be fitted inside or outside the window recess and is not visible since it’s behind the drape. On a drape track, the drapes slide along the track when opened, whereas drapes on a rod do not, the drapes are pulled open. drape rods come in various styles and often have finials, whereas drape tracks are not a design feature, because they are not made to be distinctly visible behind the drape.
How to fit a drape rod or track
STEP ONE: MEASURE THE ROD OR TRACK WIDTH
If you’ve already got your made to measure Morris & Co. drapes, or you’re waiting for them in the post: use this size for your rod or track width measurement.
If you haven’t yet measured for your drapes: you will need to measure the width for your rod or track. Measure the width of the window opening, and then adding an overhang to each side. For a typical window, we suggest rods or tracks should overhang the window by no less than 15cm each side (that’s excluding finials – the decorative end pieces of the drape rod).
Mark the rod or track with a pencil, check your measurements again. Then cut the rod to the required width (excluding finials) using a hacksaw.
For wider windows, rods sometimes come in two parts with a centre bracket. You need to cut an equal amount off each half for your centre bracket to be in the middle for this two-part rod.
For drape tracks: make sure there’s enough brackets to take the weight of the drape (typically, this is harder for heavier drapes with thicker fabrics), and that they’re evenly spaced. A good way to check this is to test-assemble the brackets to the track to check suitable positions before fixing. Now mark the fixing positions.
STEP TWO: FIND THE BRACKET POSITION ALONG THE LENGTH
For drape rods: brackets are typically fixed, so there’s room for at least one ring (hook, eyelet, or tab) between the outside edge of the bracket and the finial. Five centimetres is about right. If there’s a centre bracket, this should be fixed at the centre of the rod. Mark where the brackets are.
For drape tracks: make sure there’s enough brackets to take the weight of the drape (typically, this is harder for heavier drapes with thicker fabrics), and that they’re evenly spaced. A good way to check this is to test-assemble the brackets to the track to check suitable positions before fixing. Now mark the fixing positions.
STEP THREE: FIND THE BRACKET POSITION’S HEIGHT
If you already have your drapes (or they’re on order): To make sure your drapes hang correctly, your drape rod or track needs to be installed at the right height relative to the drape length. You'll need to determine where the top of the drape aligns with the rod or track brackets. If your drapes need to reach a specific point, like the floor or windowsill, precision is crucial.
If you already have your drapes, assemble the rod or track, brackets, rings, and drape on a flat surface to find the correct height for installing the brackets. This will help ensure they hang perfectly once mounted.
If you haven’t yet measured for drapes: The exact height for installing the brackets is less critical. It's suggested that the bottom of the rod or track is fixed at least 8cm (3 inches) above the top of the window frame. Note down the height where you plan to fix the brackets.
STEP FOUR: MARK THE BRACKET’S FIXING HOLES
Use a soft pencil to mark where you'll place the bracket fixing holes on the wall (or ceiling/soffit for top-fix installations). Double-check your marks and calculations for accuracy, to make sure it’s all correctly aligned. You may want to use a spirit level, but for drapes hanging to the floor or sill, it's best to align the rod or track with these reference points.
STEP FIVE: CHECK IT’S SAFE TO DRILL INTO YOUR WALL
Before you drill into your wall, you need to make sure there are no cables or pipe work in the rough area. Be sure to use a wall detector you can buy from a hardware store to do this, if you’re unsure, contact a professional.
You can also check if there are obstructions (like cables or pipes) by gently probing the wall using a bradawl (that’s a small screwdriver). Modern homes often have a cavity between plasterboard and blockwork where obstacles may be present. But it’s always best to get professional help, if you’re not sure.
STEP SIX: FIX THE BRACKETS ONTO THE WALL
Create starter holes with a bradawl, making sure the holes are large enough for your wall plugs. For solid walls, or for heavier drapes: use a drill to make deeper holes. But for cavity walls, you can snugly fit screws into the plasterboard or use specialist plasterboard fixings.
STEP SEVEN: PREPARING THE drape/TRACK
Now, you need to attach the right rings or gliders. Remember to leave one ring between the rod bracket and finial on each side. Finally assemble the rod or track onto the brackets.
You have successfully learnt how to fit a drape rod and track for when your lovingly crafted made to measure drapes arrive in your chosen heritage patterns!
Our team is on-hand to help with any queries about drapes, blinds, fabrics, upholstery, alongside our useful guides that break down the step by step process of how to measure, and hang your beautiful new drapes or shades.

